This is a tutorial on how to use Visual Studio to debug native applications inside another operating system in your virtual machine (VirtualBox). I’m still using Visual Studio 2008 but there shouldn’t be much difference in newer versions of Visual Studio, please leave a comment if there is.
Setting up VirtualBox
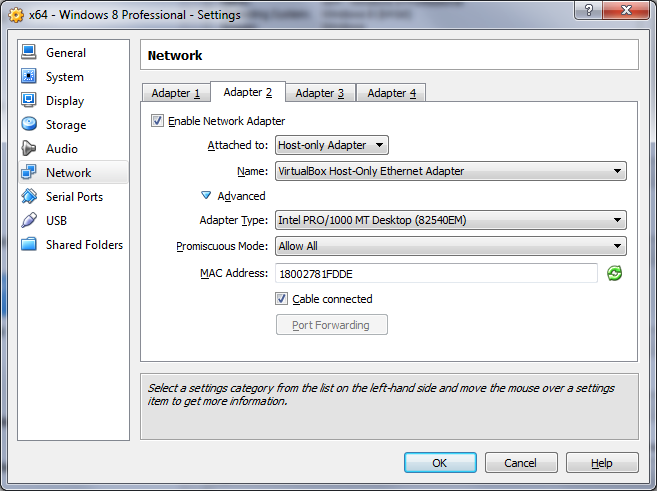
When your virtual machine is powered off go into the settings and select Network tab on the left side. Check to see if you have “Host-only Adapter” type of network in either of the Adapter (1, 2, 3 or 4) tabs, if not then Enable new Network adapter and set network type to “Host-only Adapter” like in the image bellow.
Host-only Adapter network provides connectivity among virtual machines and the host which is exactly what we need for remote debugging.
Guest OS
Now you need to make sure that your guest and host OS see each other, to accomplish this open CMD in both OS-es and ping other OS (by using IP or computer name). When you are able to receive a reply from both OS-es you’ve made successful connectivity.

In case you don’t receive reply from your guest OS this means your windows firewall is on and I personally think there is no danger in my virtual network so I just disabled firewalls on all guest operating systems for Host-only Adapter.
Remote debugger tools
Find Remote Debugger in your Program Files where Visual Studio is installed, for Visual Studio 2008 location is “C:\Program Files\Microsoft Visual Studio 9.0\Common7\IDE\Remote Debugger”. Copy Remote Debugger to virtual machine, location is not important, just remember where you put it so you can find it later. :)
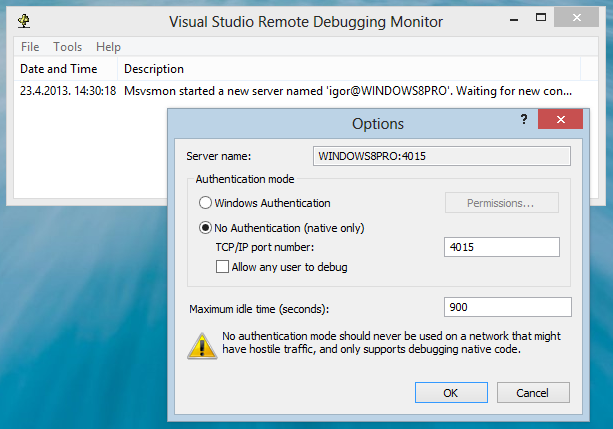
Start Remote Debugger and go into Tools>Options, change “Authentication mode” to “No Authentication (native only)”.

You can copy your application’s binary files into the virtual machine OR create a “Shared Folder”. Second option is better because you don’t have to copy your binary files every time you compile them.
Configuring Visual Studio
NOTE: You should make a new configuration for your project in Visual Studio if you will be doing this remote debugging a lot. Don’t just change the properties of your standard “Debug” configuration because then you will have to change settings manually every time you want to switch between local and remote debugging.
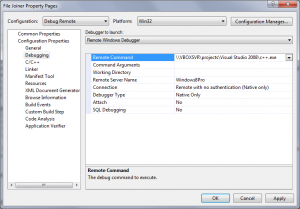
- go to menu “Project”, select your project “Properties”
- go to “Debugging”
- for “Debugger to launch” select “Remote Windows Debugger”
- for “Remote Command” enter the path to your application, for example “C:\my app.exe”
- for “Remote Server Name” enter computer name or IP address of your GUEST OS
- for “Connection” select “Remote with no authentication (Native Only)”
- that is it, happy debugging :)


My project properties page doesn’t have all these options. What exactly you did, Could you please write more of Visual Studio step, VS 2008 or VS 2010 ?
What programming language are you using? If you are using C# or some other managed language you probably don’t have Native debugging as an option.
Thank you so much! This is what I have been searching for.
And it works perfect.
Thanks! It really helped me! ;)