I’m using Kivy on Android for several years now and the way I compile it is via buildozer inside virtual machine. Due to some changes in Google Play store requirements regarding targeting API 26 and Android build tools, this has stopped working for me. It took some time to figure out out all the kinks so I’m writing my virtual machine setup here in hope it will save time for others.
Setup Virtual Machine
I’m using Lubuntu (what Kivy recommended) in VIrtualBox, these are the instructions to setup your virtual machine.
- download and install VirtualBox,
- download Lubuntu (version 18.04 at the time I’m writing this post),
- create a new virtual machine and install Lubuntu
Installation takes about 5 minutes on my machine + 5 minutes to download and install updates. I have to say Lubuntu has a really optimized installation process, it’s very fast and it wasn’t even installed on an SSD.
Now insert Guest Additions CD image from Devices menu in VirtualBox. Install additions by running following commands one by one from the terminal:
sudo apt install linux-headers-$(uname -r) build-essential dkms

cd /media/$USER/VBox*
sudo ./VBoxLinuxAdditions.run

sudo adduser $USER vboxsf
Restart machine after that. I actually restarted after last two commands, not sure if it’s necessary though.
Shared Folder
Enter Shared Folder Settings from Devices menu and add your project folder so you can access your project from guest operating system. Restart machine again after adding it.

From now on, project on my host OS is accessible in guest OS (Lubuntu) at:
/media/sf_projects/android/kivy-test
For actual compiling and downloads from buildozer and android SDK I create another folder inside virtual machine:
mkdir ~/projects
mkdir ~/projects/kivy-test
Setup Build Tools
Install required tools by running these two commands:
sudo apt-get update

sudo apt-get install python3-pip openjdk-8-jdk autoconf libtool python3-venv git pkg-config
Then create virtual environment for the project, activate it and install buildozer and cython:
cd ~/projects/kivy-test
python3 -m venv buildozer-env

source buildozer-env/bin/activate

pip install buildozer cython
Build
Sync the project and start the build (or try to start the build):
rsync -rh /media/sf_projects/android/kivy-test/* ~/projects/kivy-test

cd ~/projects/kivy-test
buildozer android debug
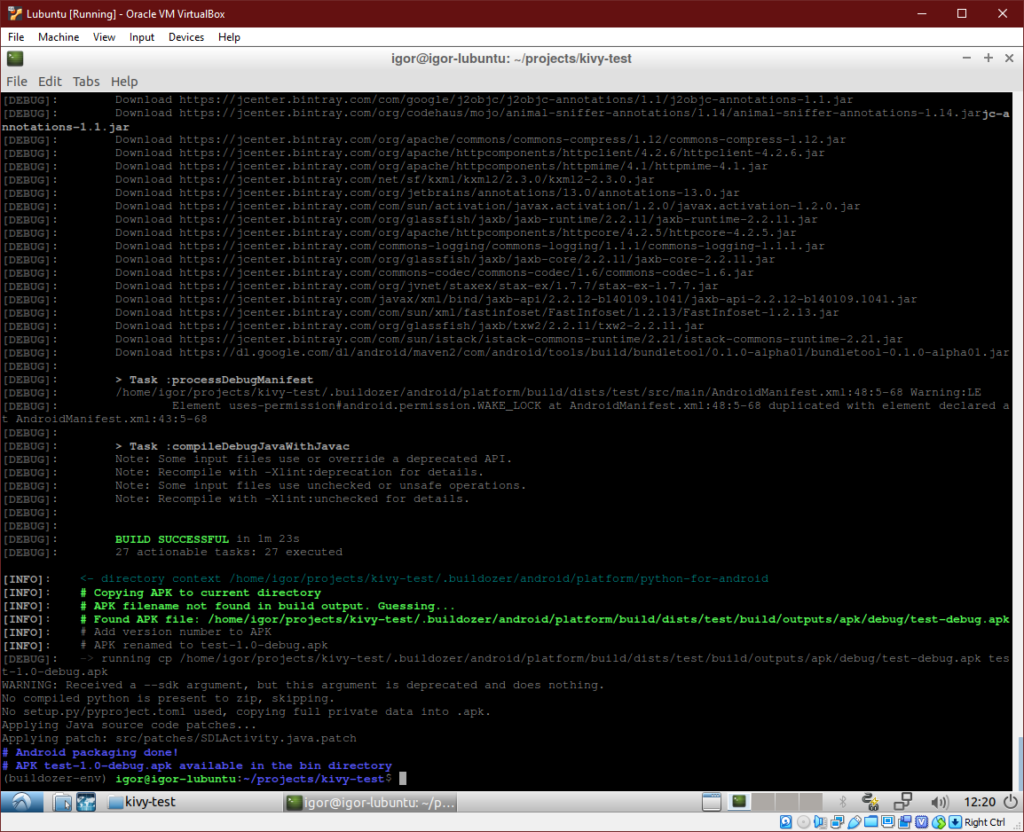
You are in for a long wait at this stage, it takes some time to download, compile and build everything. If everything is setup correctly you will see this at the end:
Android packaging done!
APK test-1.0-debug.apk available in the bin directory
Issues with Aidl and missing build-tools folder
Why did I write “or try to start the build” when it all went so smoothly? Well it did for a fresh “Hello World” Kivy app for the purpose of this blog post, it definitely did not for my actual project. Issue that I had was missing Aidl:
Check that aidl can be executed
 build-tools folder not found /home/igor/.buildozer/android/platform/android-sdk-28/build-tools
 Search for Aidl
 Aidl not found, please install it.
I was trying to fix “Aidl not found” error by searching through articles on the internet, everything I found was outdated and not applicable anymore, then I realized that the actual error is that I’m missing entire “build-tools” folder. After shifting my focus to that error I (relatively) quickly found a solution:
~/./.buildozer/android/platform/android-sdk/tools/bin/sdkmanager "build-tools;28.0.0"
Then for some reason I didn’t have SDK 28 and had to install that manually. I guess deleting entire .buildozer folder could have worked here but I imagine it would have been much slower. You probably won’t need this command but in case you do here it is:
~/./.buildozer/android/platform/android-sdk/tools/bin/sdkmanager "platforms;android-28"
That was it, build was successful again. More information regarding sdkmanager tool on android skdmanager webpage.
